As a guitarist, there is something which I just had to have. A lovely Strat. I needed one. But they are expensive and they don't make them like they used to, they aren't fitted out as I would like etc etc. Add all that to the fact that I like to make things myself, and you have the basic premise of this project.
I wanted a two-piece alder body and a maple neck with rosewood fingerboard. The finish was to be nitro-cellulose. I have a thing for white guitars, so she had to be white. No clear coat over the white, so the colour would not yellow over time. I was not too fussy about the neck details, but I knew that I wanted it to be Allparts, as I was so impressed with my Tele project's neck. I also wanted the truss-rod adjustment to be at the body, like on a 60s Strat.
So, mere weeks after moving in to our new flat in late 2005, I started work. I now had my own room which I was going to use as a workshop and made lots of mess.
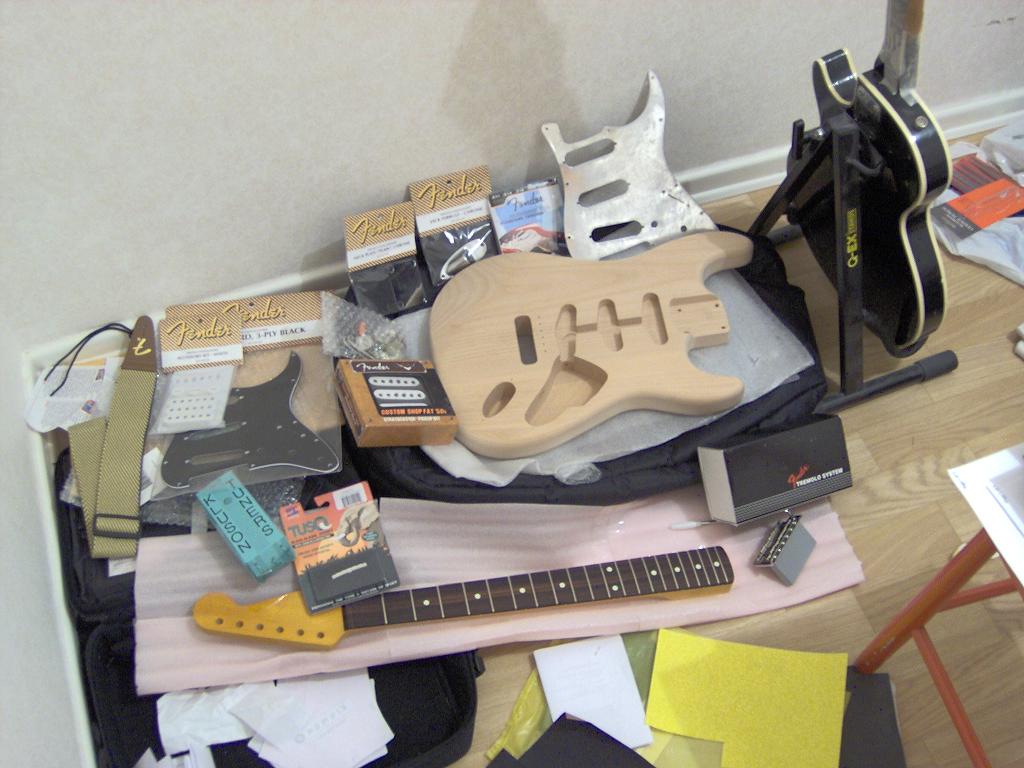
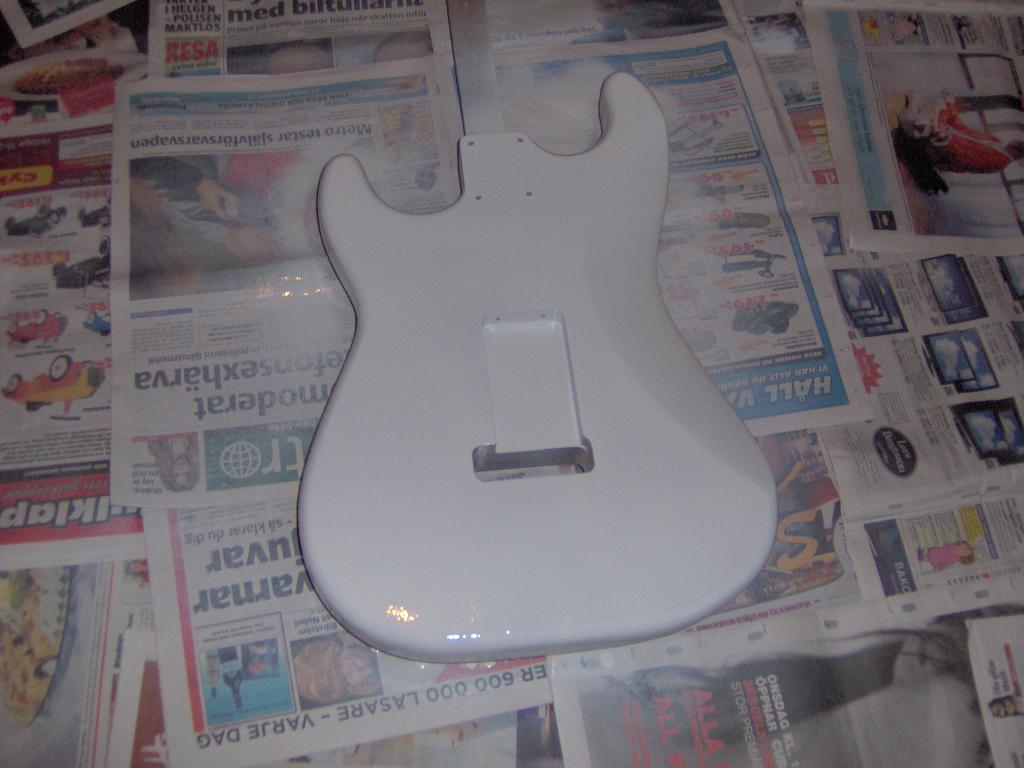
The body and neck were ordered from Gregg Rogers Guitars (link). Rogers makes his own bodies to 60s Fender specs. I also ordered a neck from him, which he had finished in tinted nitro. I bought a whole load of parts from various places, mainly from Guitar Parts Resource (link) who have very reasonable postage rates. Here is a picture of all the parts:
The parts are:
GR Guitars body
Allparts neck (finished by GR Guitars)
Kluson 6-a-side tuners
Fender vintage tremolo system
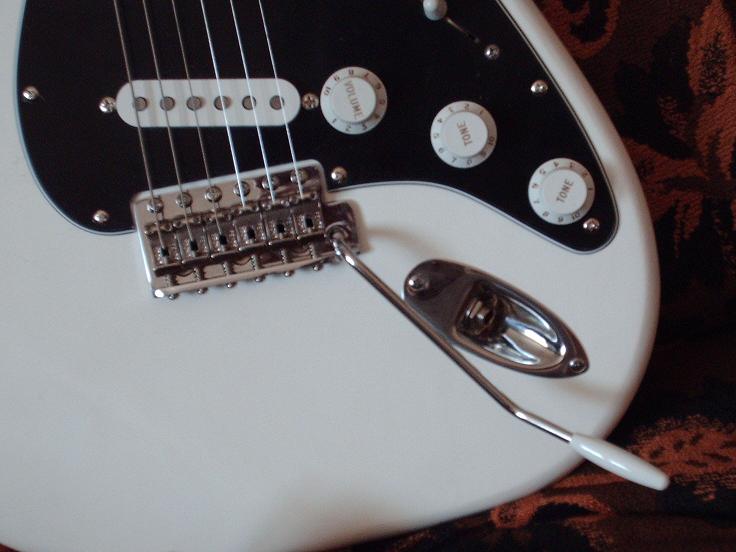
Fender 3 single-coil scratchplate and shield
Fender Fat 50s pickups
Fender neck plate and output jack plate
Fender knobs (I ended up getting the whole kit and selling the unused parts)
Tusq nut
CTS pots and Orange Drop capacitors
The idea with this build was that I would not scrimp on parts or anything. I wanted Fender parts (as far as that was possible) and good, high quality stuff. I wanted a guitar which I would want to keep forever, and not even think about upgrading or modifying at all. Making guitars to a budget is all fair and well, but you end up with something not 100% great. I wanted something 100% great. I've now had this guitar for a few years and I am still fully happy.
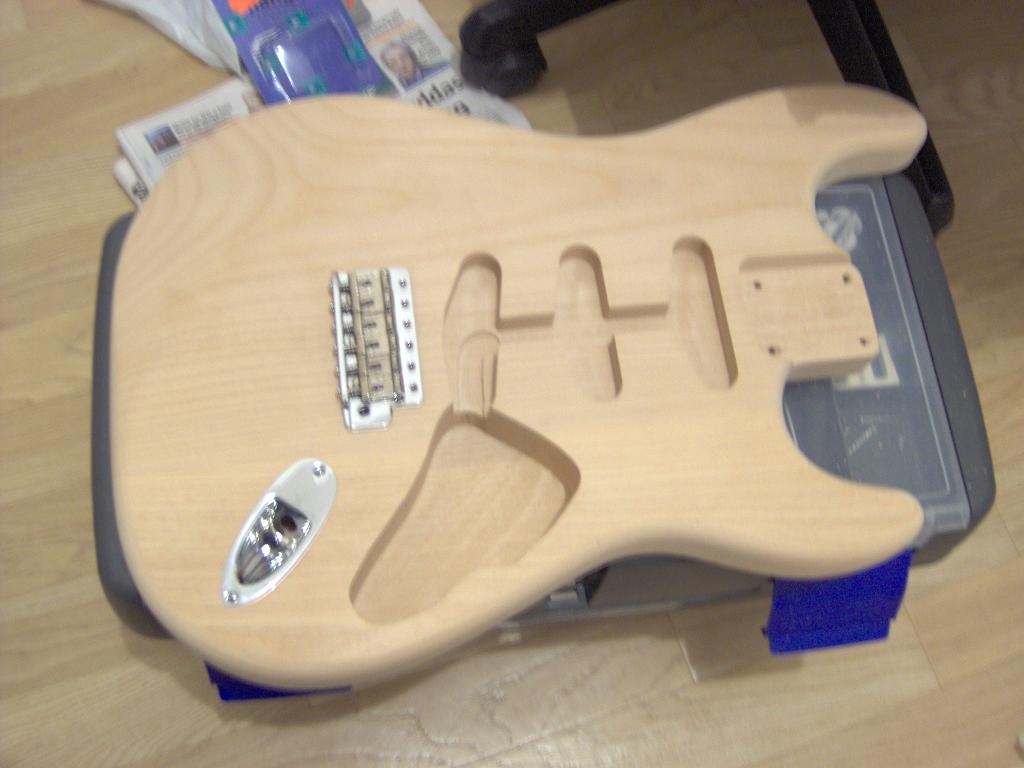
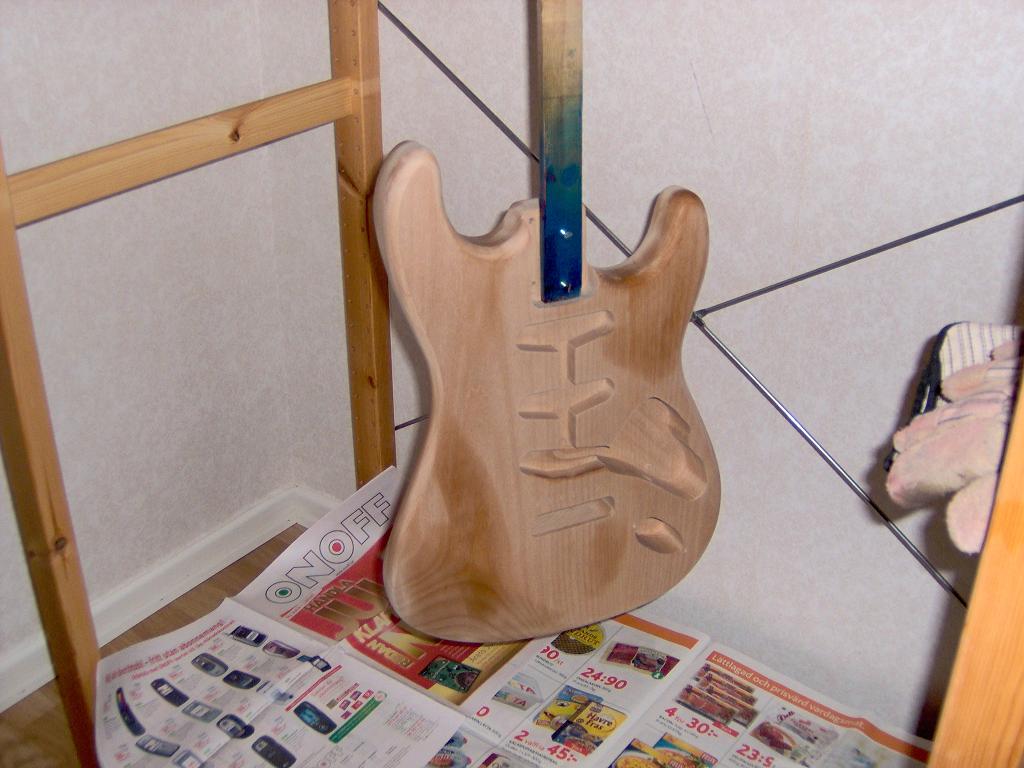
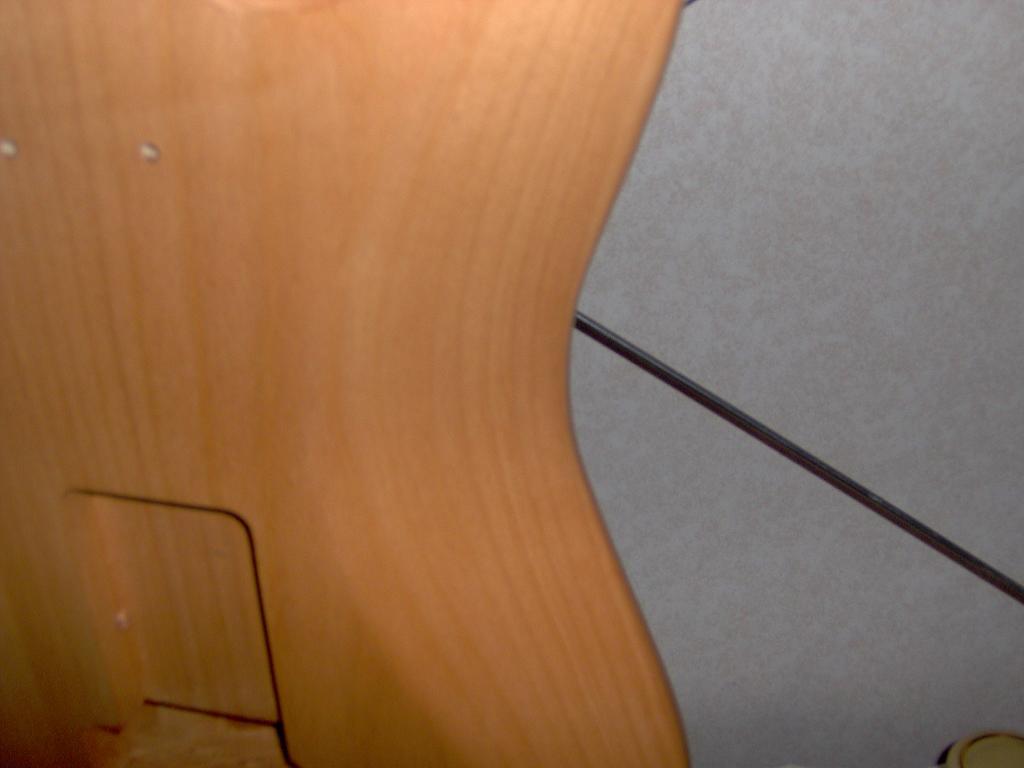
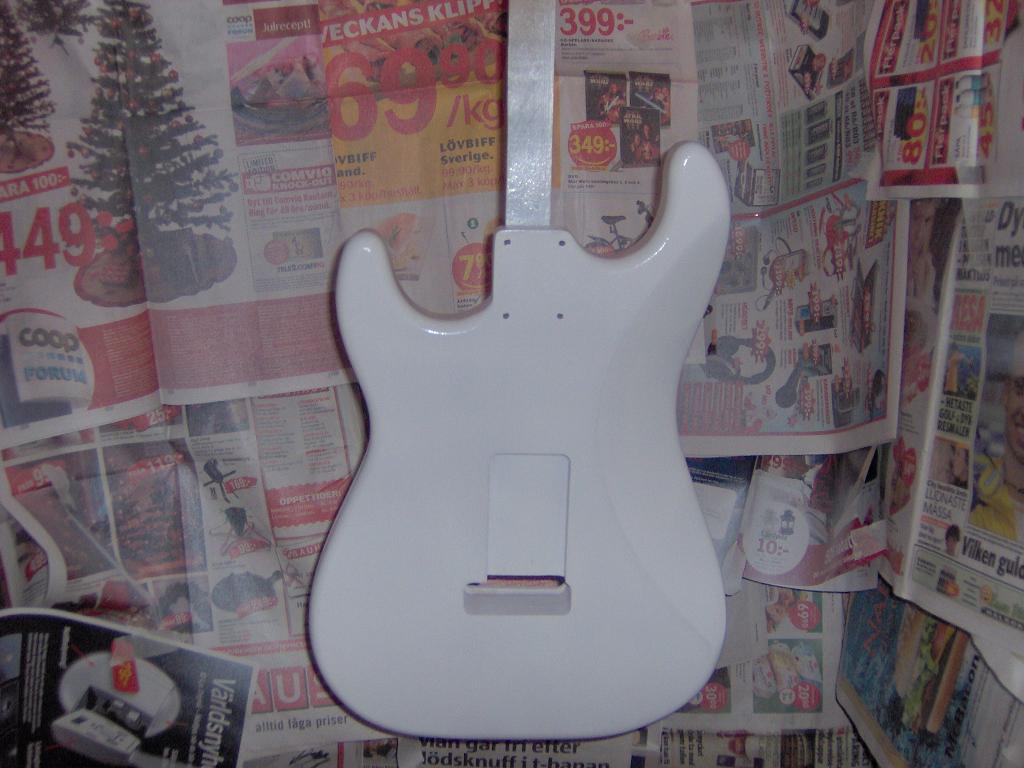
The first thing to do was to prepare the body.
The neck did not quite fit in the neck pocket, so I gently removed some wood with sandpaper.
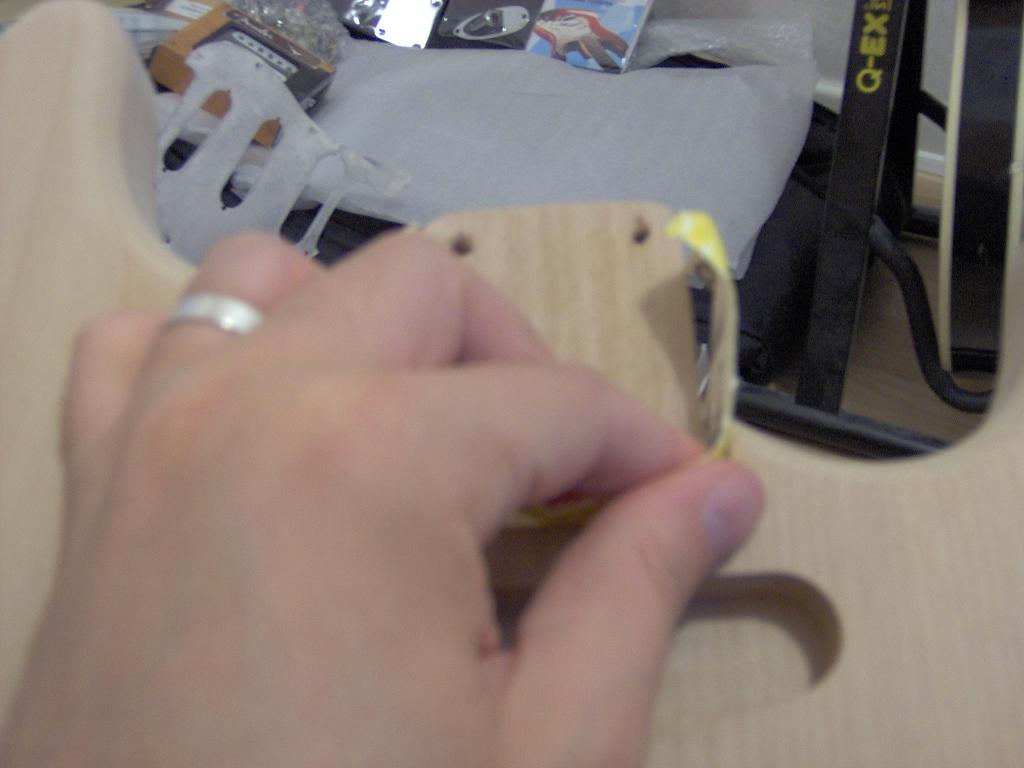
I'm not wearing gloves for this, as I needed to be exact. The sandpaper took off a bit of skin, but I'm so hard that it didn't bother me.
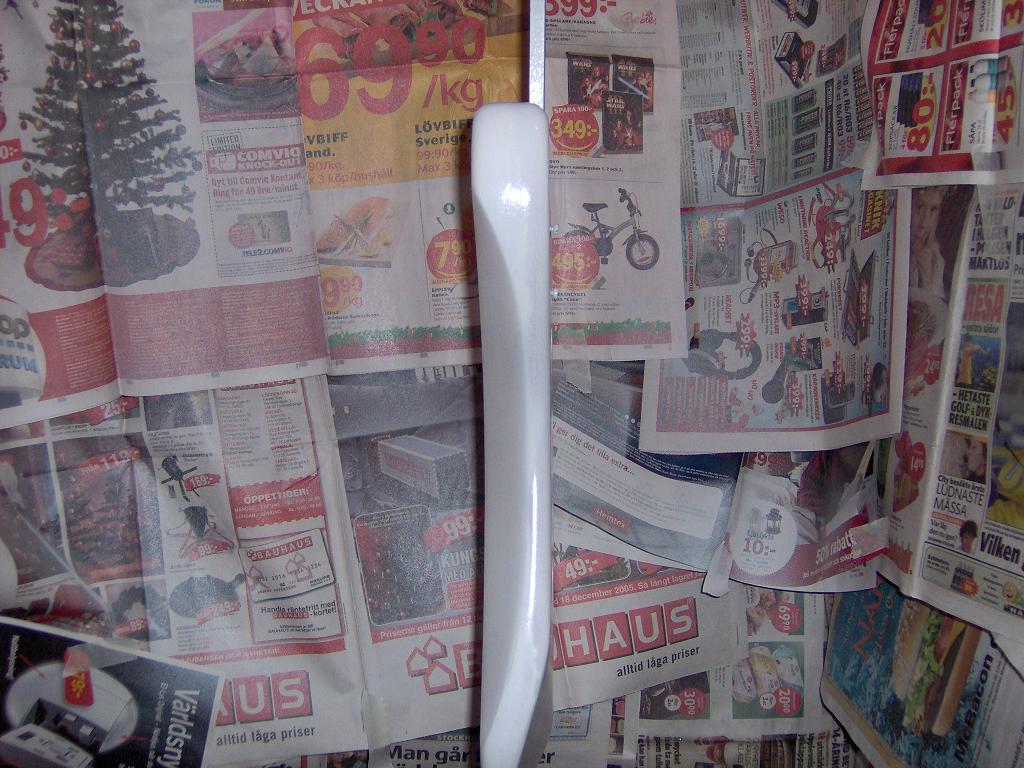
The rest of the parts fit well, so that's good.
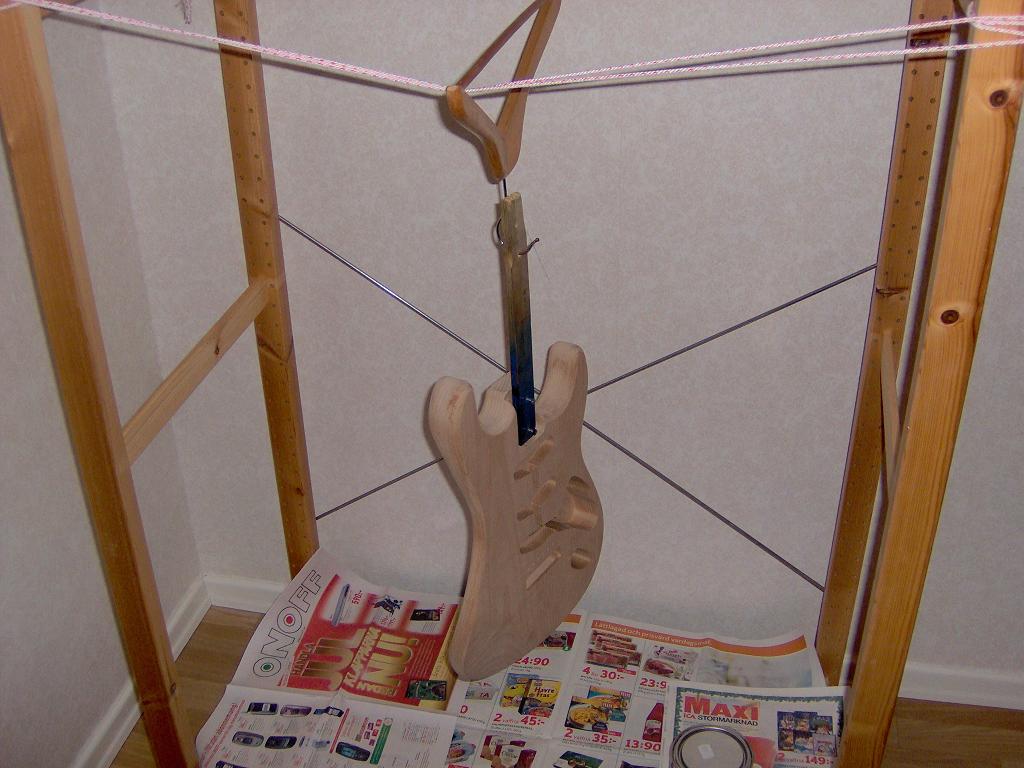
To paint the body, I set up a painting booth. I took our shelving unit thing (from Ikea, of course!) and tied a coat-hanger on it, like this:
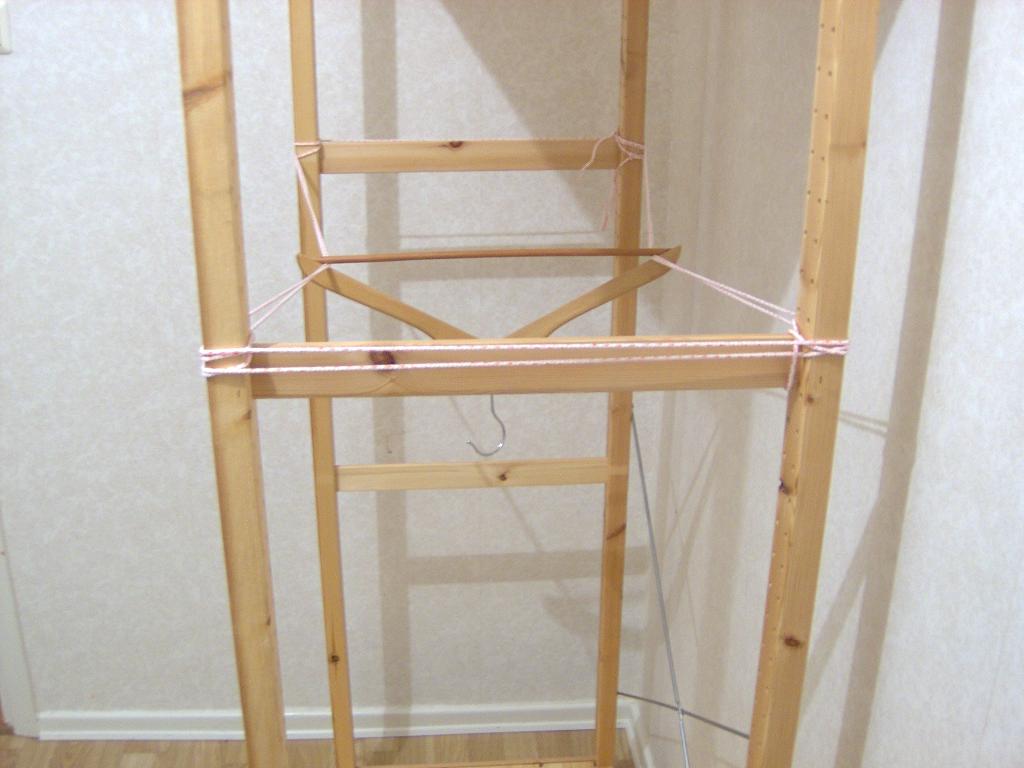
I then attached a small bit of wood to the neck pocket of the body, with a hole drilled through it so I could hang it up. It's the same bit of wood I used for my Tele project, and I still have it at home, awaiting my next messy project.
I then gave the body a quick sanding with fine grit sandpaper and then some 0000 wirewool.
And rubbed the body down with Naptha to remove grease and oil from my fingers.
Alder does not need a grain-filler, so it was time to put on the sealing coat. I like myself quite a lot, so I like to use safety gear to protect myself. I think you should too!
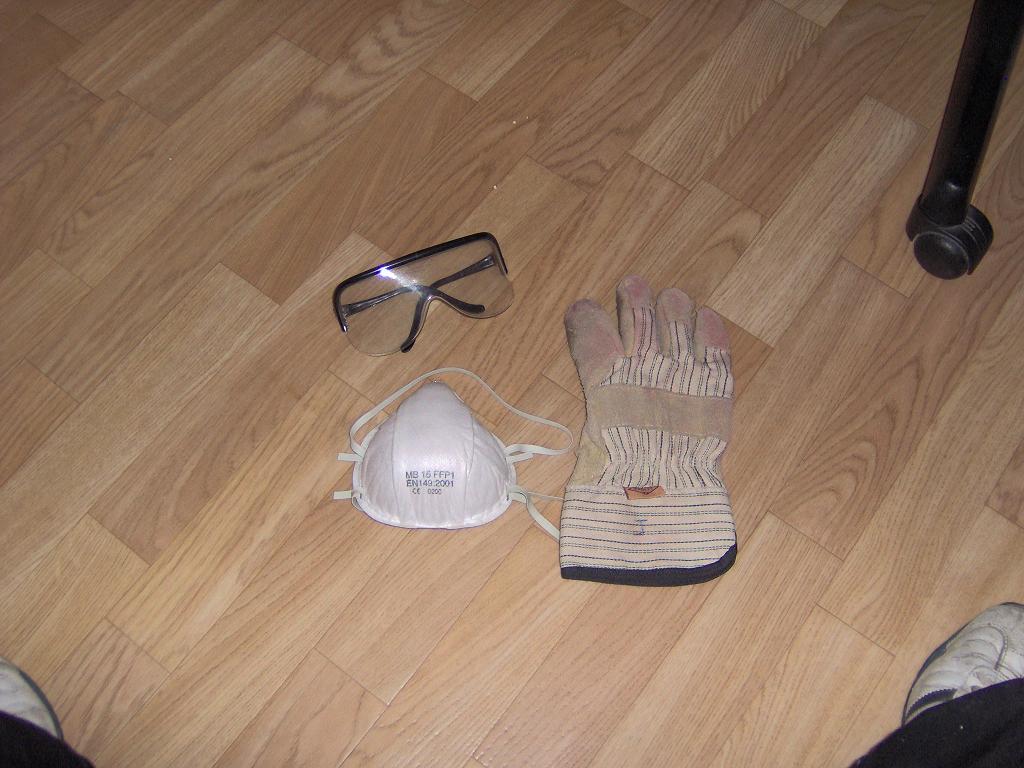
I am also wearing some old worker's trousers and an ancient pair of Adidas trainers. For the record, I wore those trainers almost every day for four years until they got too many holes. Fantastic value! I still have them. I am also wearing an old t-shirt, but you can't see that in this picture.
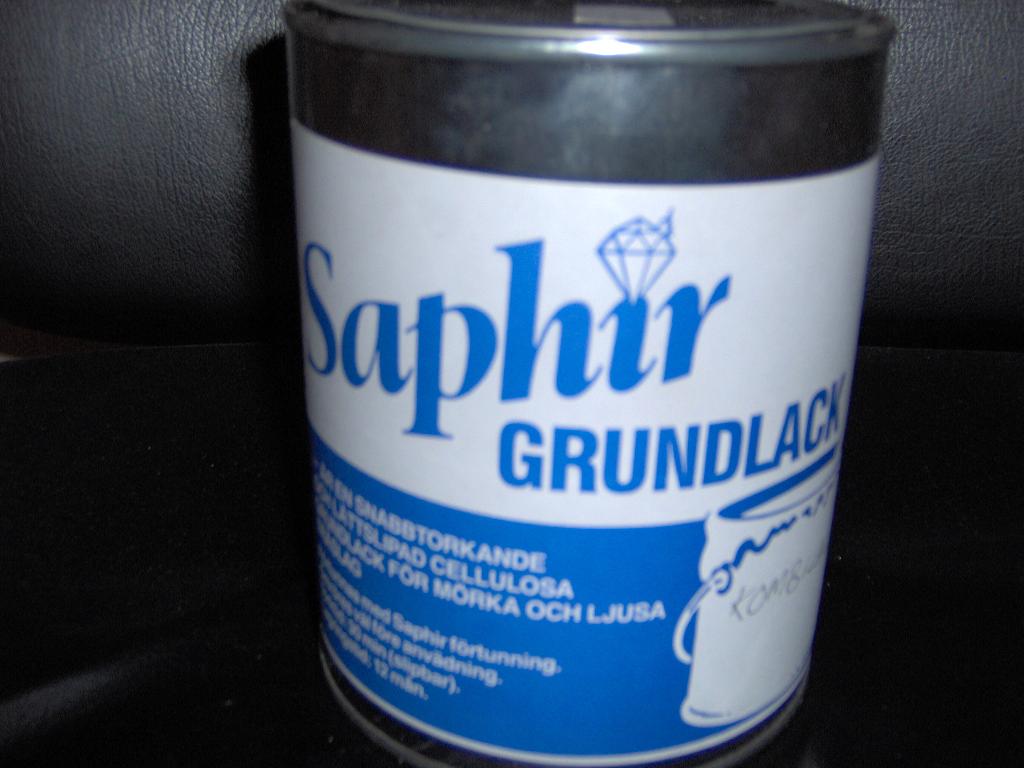
For the sealer, I used a nitro-based sealer which I picked up at a paint shop here in Stockholm.
I then painted it on the body, using a normal paintbrush.
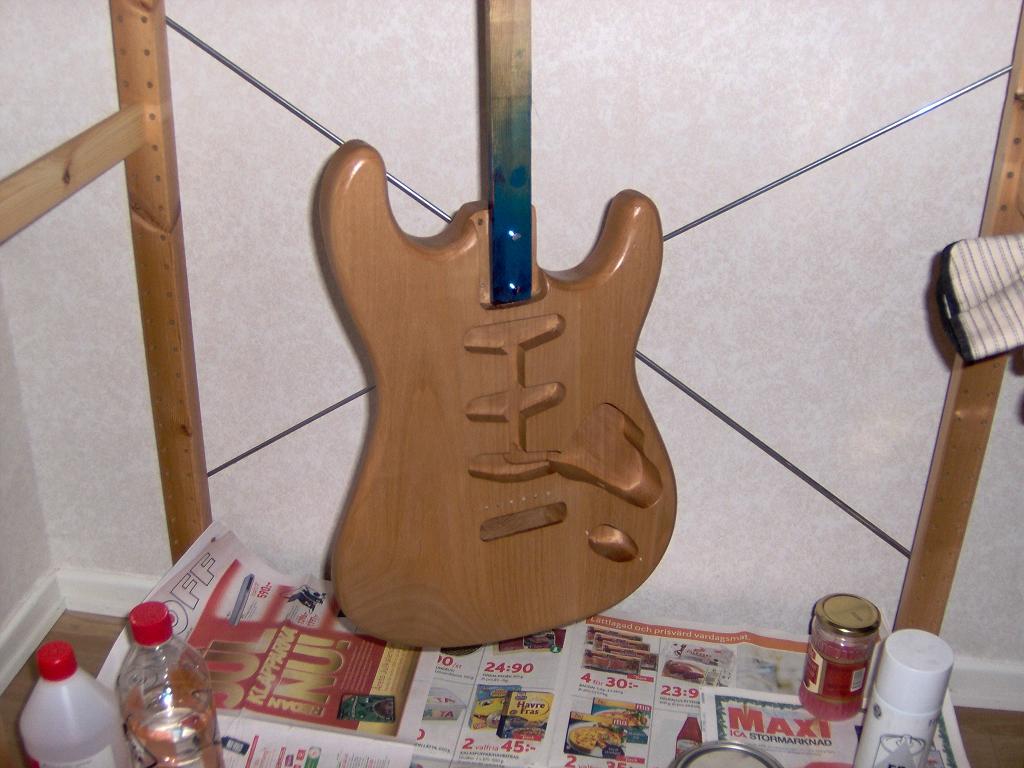
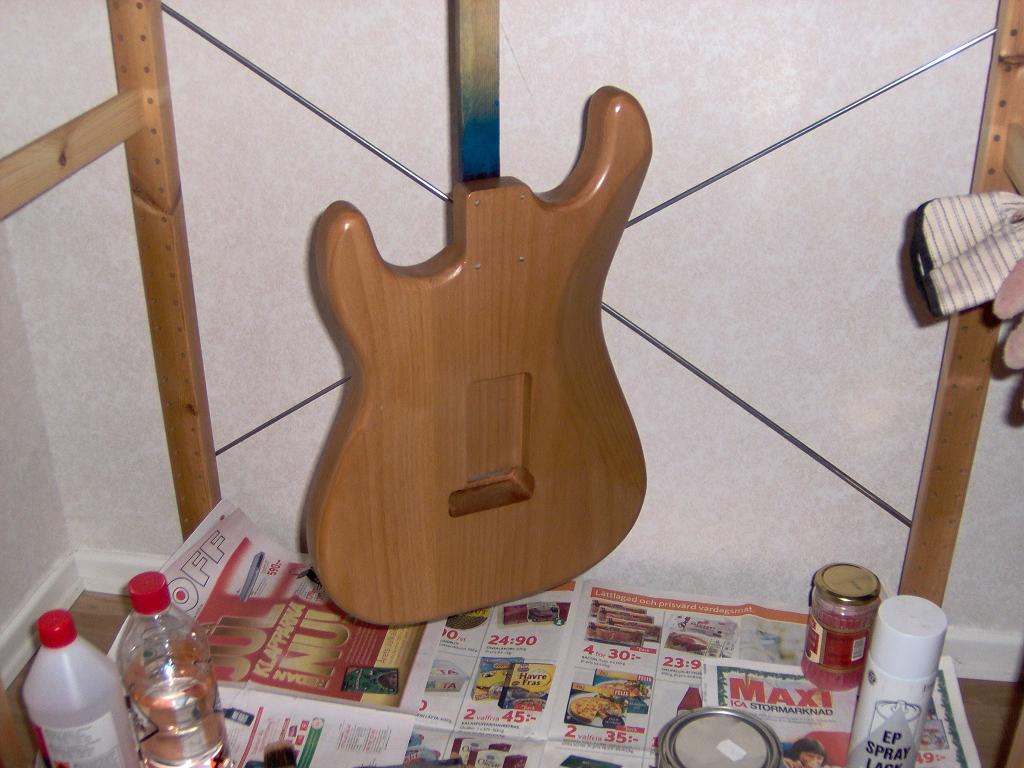
Here is the body after the sealer was on:
I left that a couple of days to dry. It dried quickly, but I wanted to be certain. Now it was time to spray the white on. I laid the body flat on the floor
Bad idea. I put too much paint on and it dripped.
Lesson learned! Don't do that again. It's ok to spray with the body like that, but not so much. I waited a few days and then sanded off the drips. That took ages.
I hung up the guitar body and put up paper in my spray booth. I then put on the first coat. It worked rather well, even if I do say so myself. Also, I played Hendrix constantly while I was putting on the sealing coat and the paint, leaving the music on while the paint dried. At the end, when all spraying was done, I played Stevie Ray Vaughan while sanding. The idea was to put some mojo in the guitar. I don't know if it worked, as I still sound like an amateur when I play. Still, it's a cool thing to say.
Here are some pictures of the body after the first coat:
You can see that I put up lots of paper in the booth to protect the room. I used masking tape to secure the paper. It kept falling down under its own weight. In an ideal world, I would have an old wardrobe. But the world isn't ideal, and I only had this.
About a month after I first started spraying, I was done. I had used about three spray cans of white nitro, as I didn't want too thick a coat. Here is the body when all the spraying was done:
All the spraying indoors really made the flat smell. My lungs were getting quite irritated, even though I wore a mask. I had to get outside a bit to enjoy the fresh air of the Swedish winter.
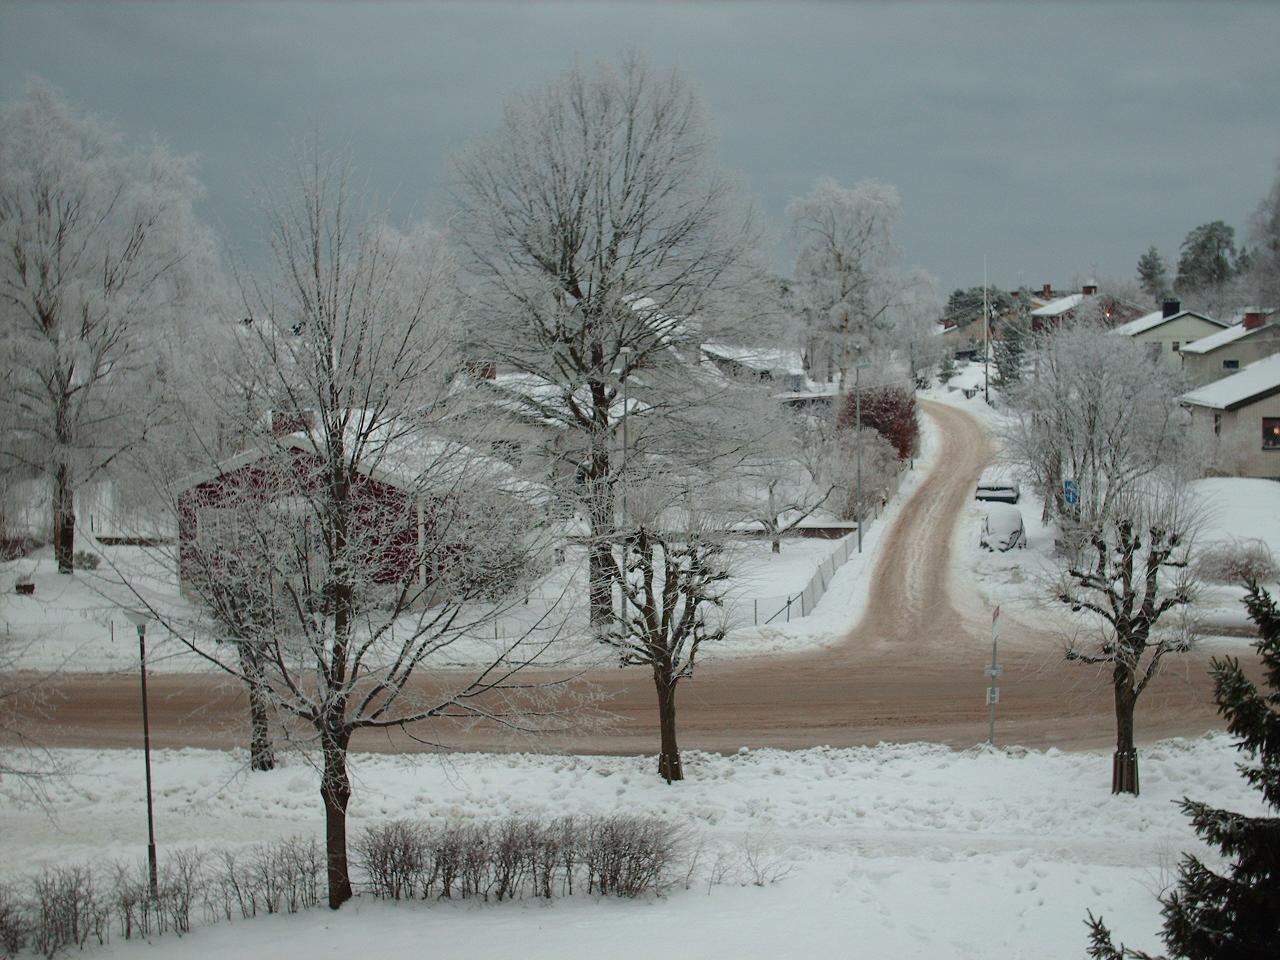
Mmm, slushy snow. This is in January, taken the day after my 28th birthday.
While I wait for the body to cure, I start work putting the neck together. This is always my least favourite part of the job, as the bushings in the tuners NEVER fit the holes in the headstock. I filed away the wood using a file in circular motions. It took ages, absolutely ages and it was very frustrating. To make matters worse, I noticed a production error on the tuners themselves.
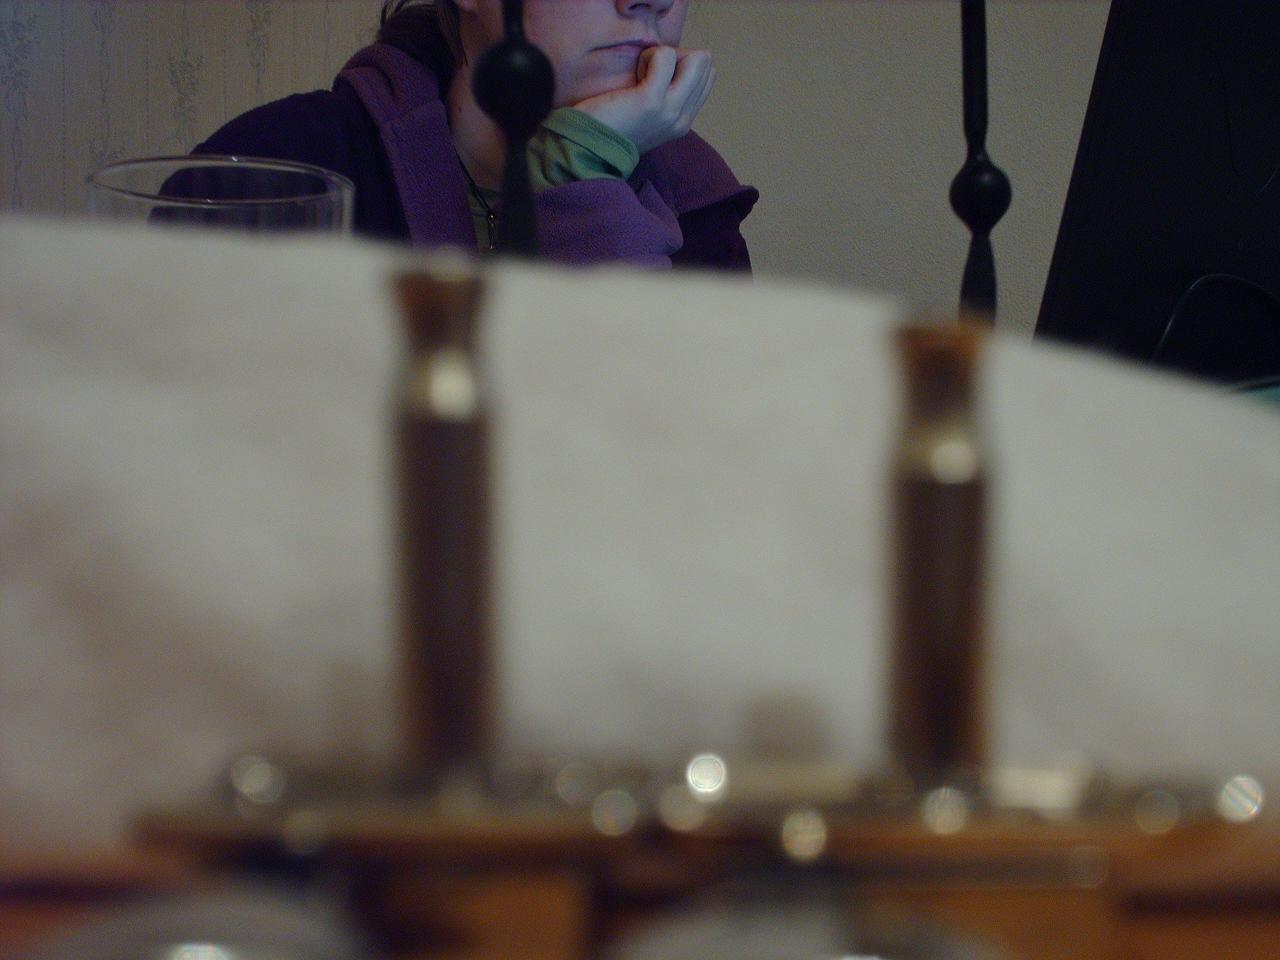
You can see that one of the shafts is much shorter than the other (and this is not a staggered set - they should all be the same length). You can also see my missus looking very bored. I do go into guitar mode sometimes, especially when building or restoring instruments. It drives her mad.
The guy who sold me the tuners kindly sent a replacement, so that was good. It's good to see that there are still some honest people on eBay. You will always experience honesty and decency when you buy my pedals (link). Aw come on, I had to get a plug in there somewhere!
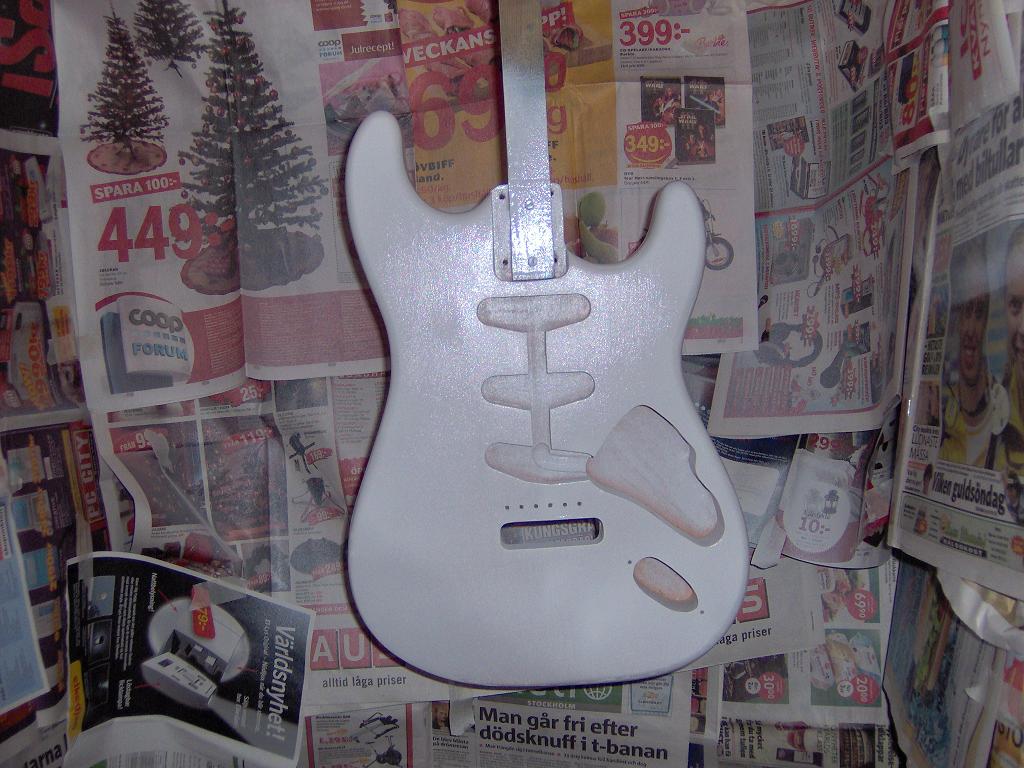
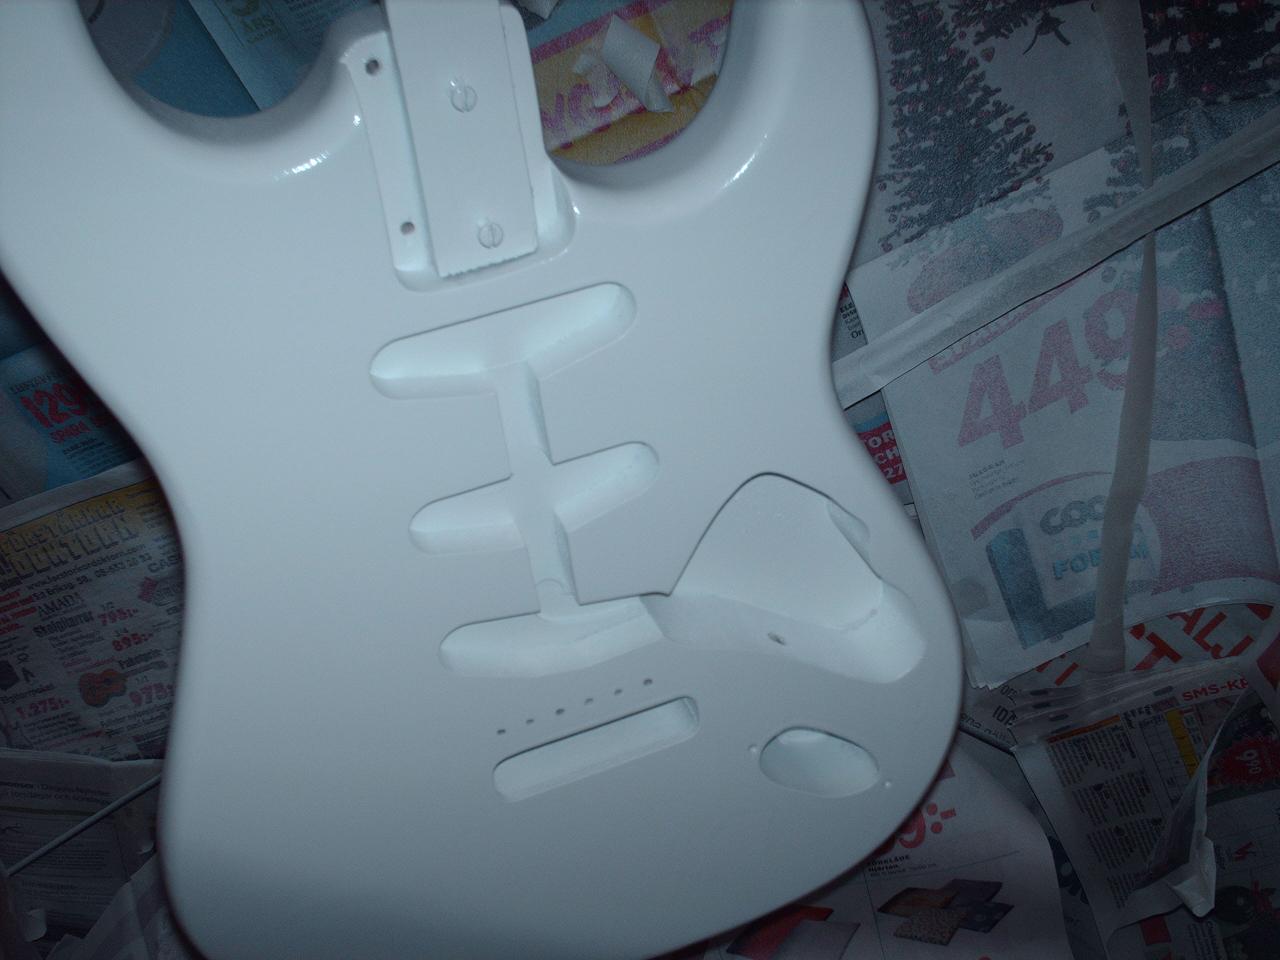
When the body was ready, I sanded it down to give a smooth finish. To do this, I used plenty of wet-and-dry sandpaper, gradually working my way from 240 to 1200 grit. I soaked the paper in water to soften it. No photos of this, but it's pretty obvious to imagine. No? Ok. Just picture me sitting in my room, listening to SRV, and sanding down this white guitar body for hours on end. Don't forget to include the water, now infused with white paint, dripping all over my legs.
Final buffing and polishing was done with some cutting compound and cellulose polish I got from an art supplies shop.
Francesca was completed on the 17th March 2006.

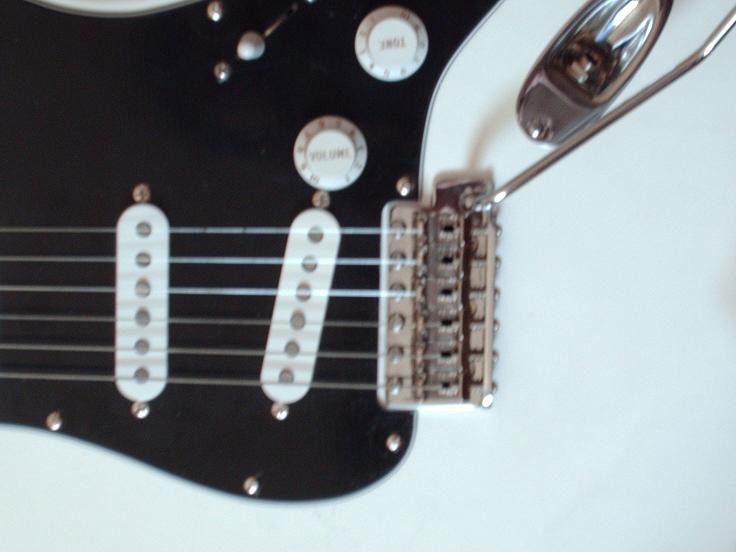
Nice. All that was left to do at that point was a set-up and to shield the guitar to get rid of any hum. There wasn't much anyway, but I still wanted to shield her.
All in all, the whole thing took five months and cost me a little over 7,500 Swedish kronor and it was worth every penny!
So, that was that. I had a great time!